This page is a good place to start if you are a first-time NIH Image user. Click here to skip this page and go right into the image processing tutorial.
NIH Image is an image processing program developed by Wayne Rasband at the National Institutes of Health. It was developed to look at medical images, but we'll use it to look at images of Mars taken by the Viking Orbiter spacecrafts.
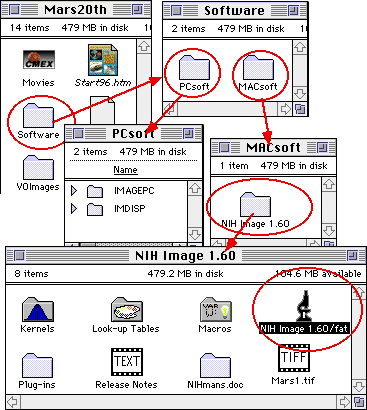
There are Macintosh and PC versions of NIH Image on this CD in the Software directory.

You can run NIH Image at the same time as you're reading this! That's what we recommend - it's the best way to try out things. (It helps to have more than 8 MB of memory, and you'll probably need 16 MB to open the bigger images of Mars.)
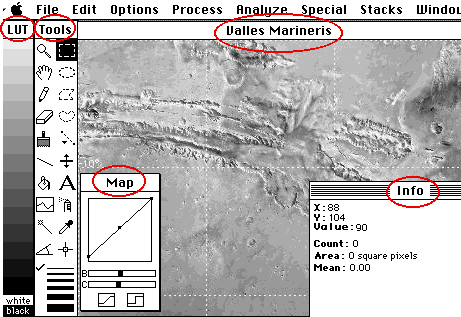
Here's a typical screen shot of NIH Image in action. There are five windows shown here.
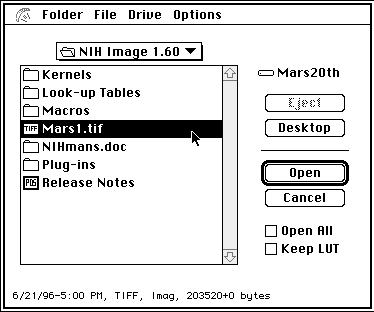
We've put an image file (called "Mars1.tif") in the same directory as NIH Image. It's an image of Valles Marineris, a canyon on Mars that would stretch across the continetal United States! Choose Open from the File menu and select the "Mars1.tif" file.
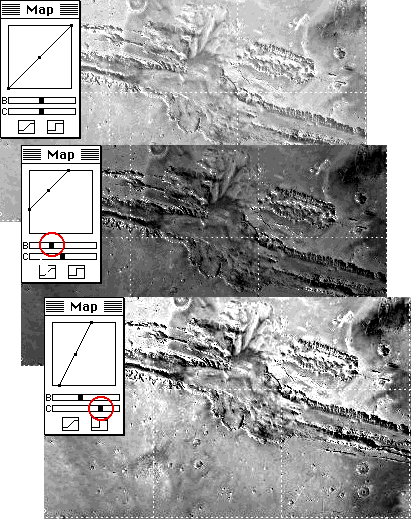
We'll use the MAP window to change the brightness and contrast. It's pretty easy - just slide the brightness and contrast controls and watch your image change!
On Macintosh systems you can turn on balloon help. Just pull down the balloon help menu from the yellow question mark in the upper right corner of the menu bar.

Now you'll get pop-up balloons when you move the mouse over a tool.

Try using the magnifying glass to expand a crater.
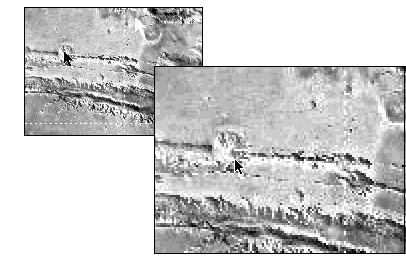
Our NIH Image Tutorial shows you how to open Viking images of Mars (they're in a special format), how to measure distances on the planet, and lots more. Click here to go to the NIH Image Tutorial.